
Casting A Geralt’s Medallion from The Witcher
Every year, I make a gift for each member of my immediate family. It’s an excuse for me to spend some money and time learning a new skill and to give a gift that is the only one like it in the world. And every year I pick one or two that are just on the edge of my abilities.
This year I really outdid myself.
The idea behind the design is to carve something out of wood then use it to create a mold out of casting sand and create the same object out of metal. It was easy in concept, not so easy in practice.


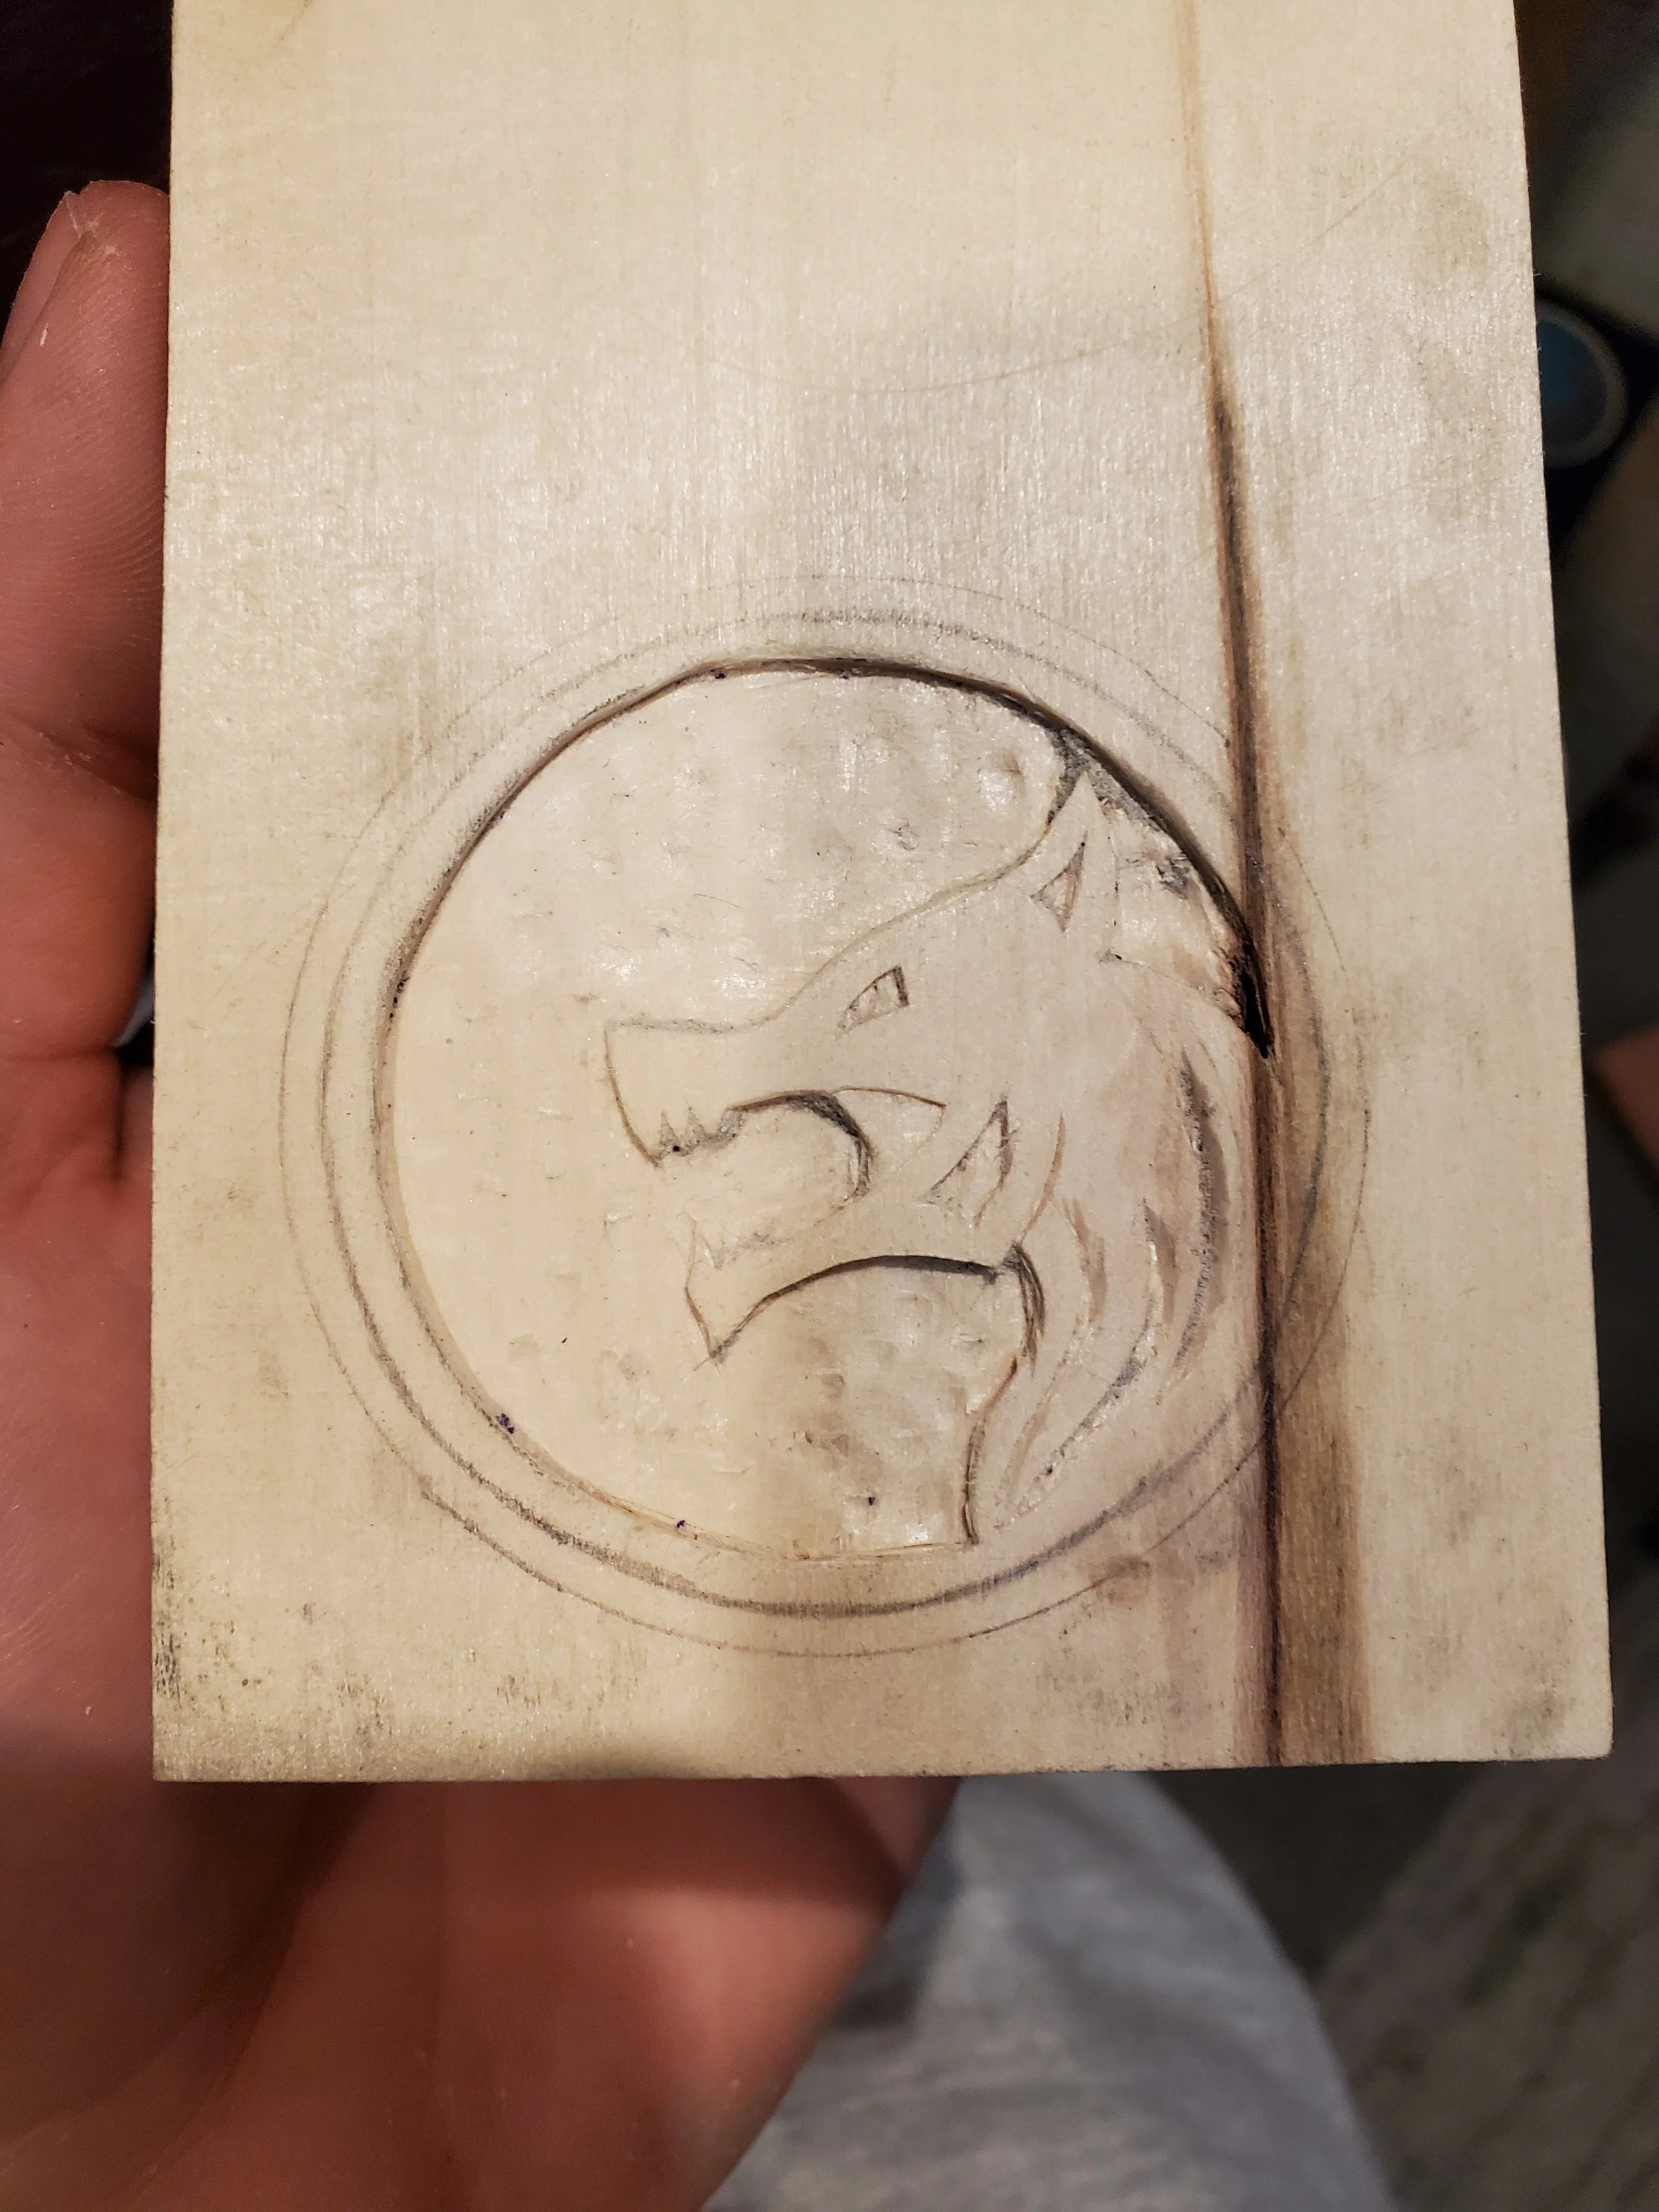

You can see from the first drawing iteration and the number of indents on the page that I am still learning the ins and outs of drawing. Fortunately, no one ever sees the first draft of anything. That’s the true secret to making something beautiful. You can make hundreds of ugly versions until you get it right and no one will ever know.
Unless of course you make a website dedicated to showing the process, then you’re exposed as a fraud.
But I mean who cares. If I sat around all day worried about failing or looking like an idiot, I would never have made something like this. In the words of Jake the dog, "Sucking at something is the first step towards being sorta good at something."
Anyway, I drew it until I liked it then took a chisel and a set of carving knives and started to carve it out. I needed a blank here, something I could put into the casting sand so it had to be as close to the final design as possible. I did chip out a section of the outside but it was easy enough to glue back in. There is also that dark flawed part of wood going through that I should have avoided but it didn’t matter much in the long run.
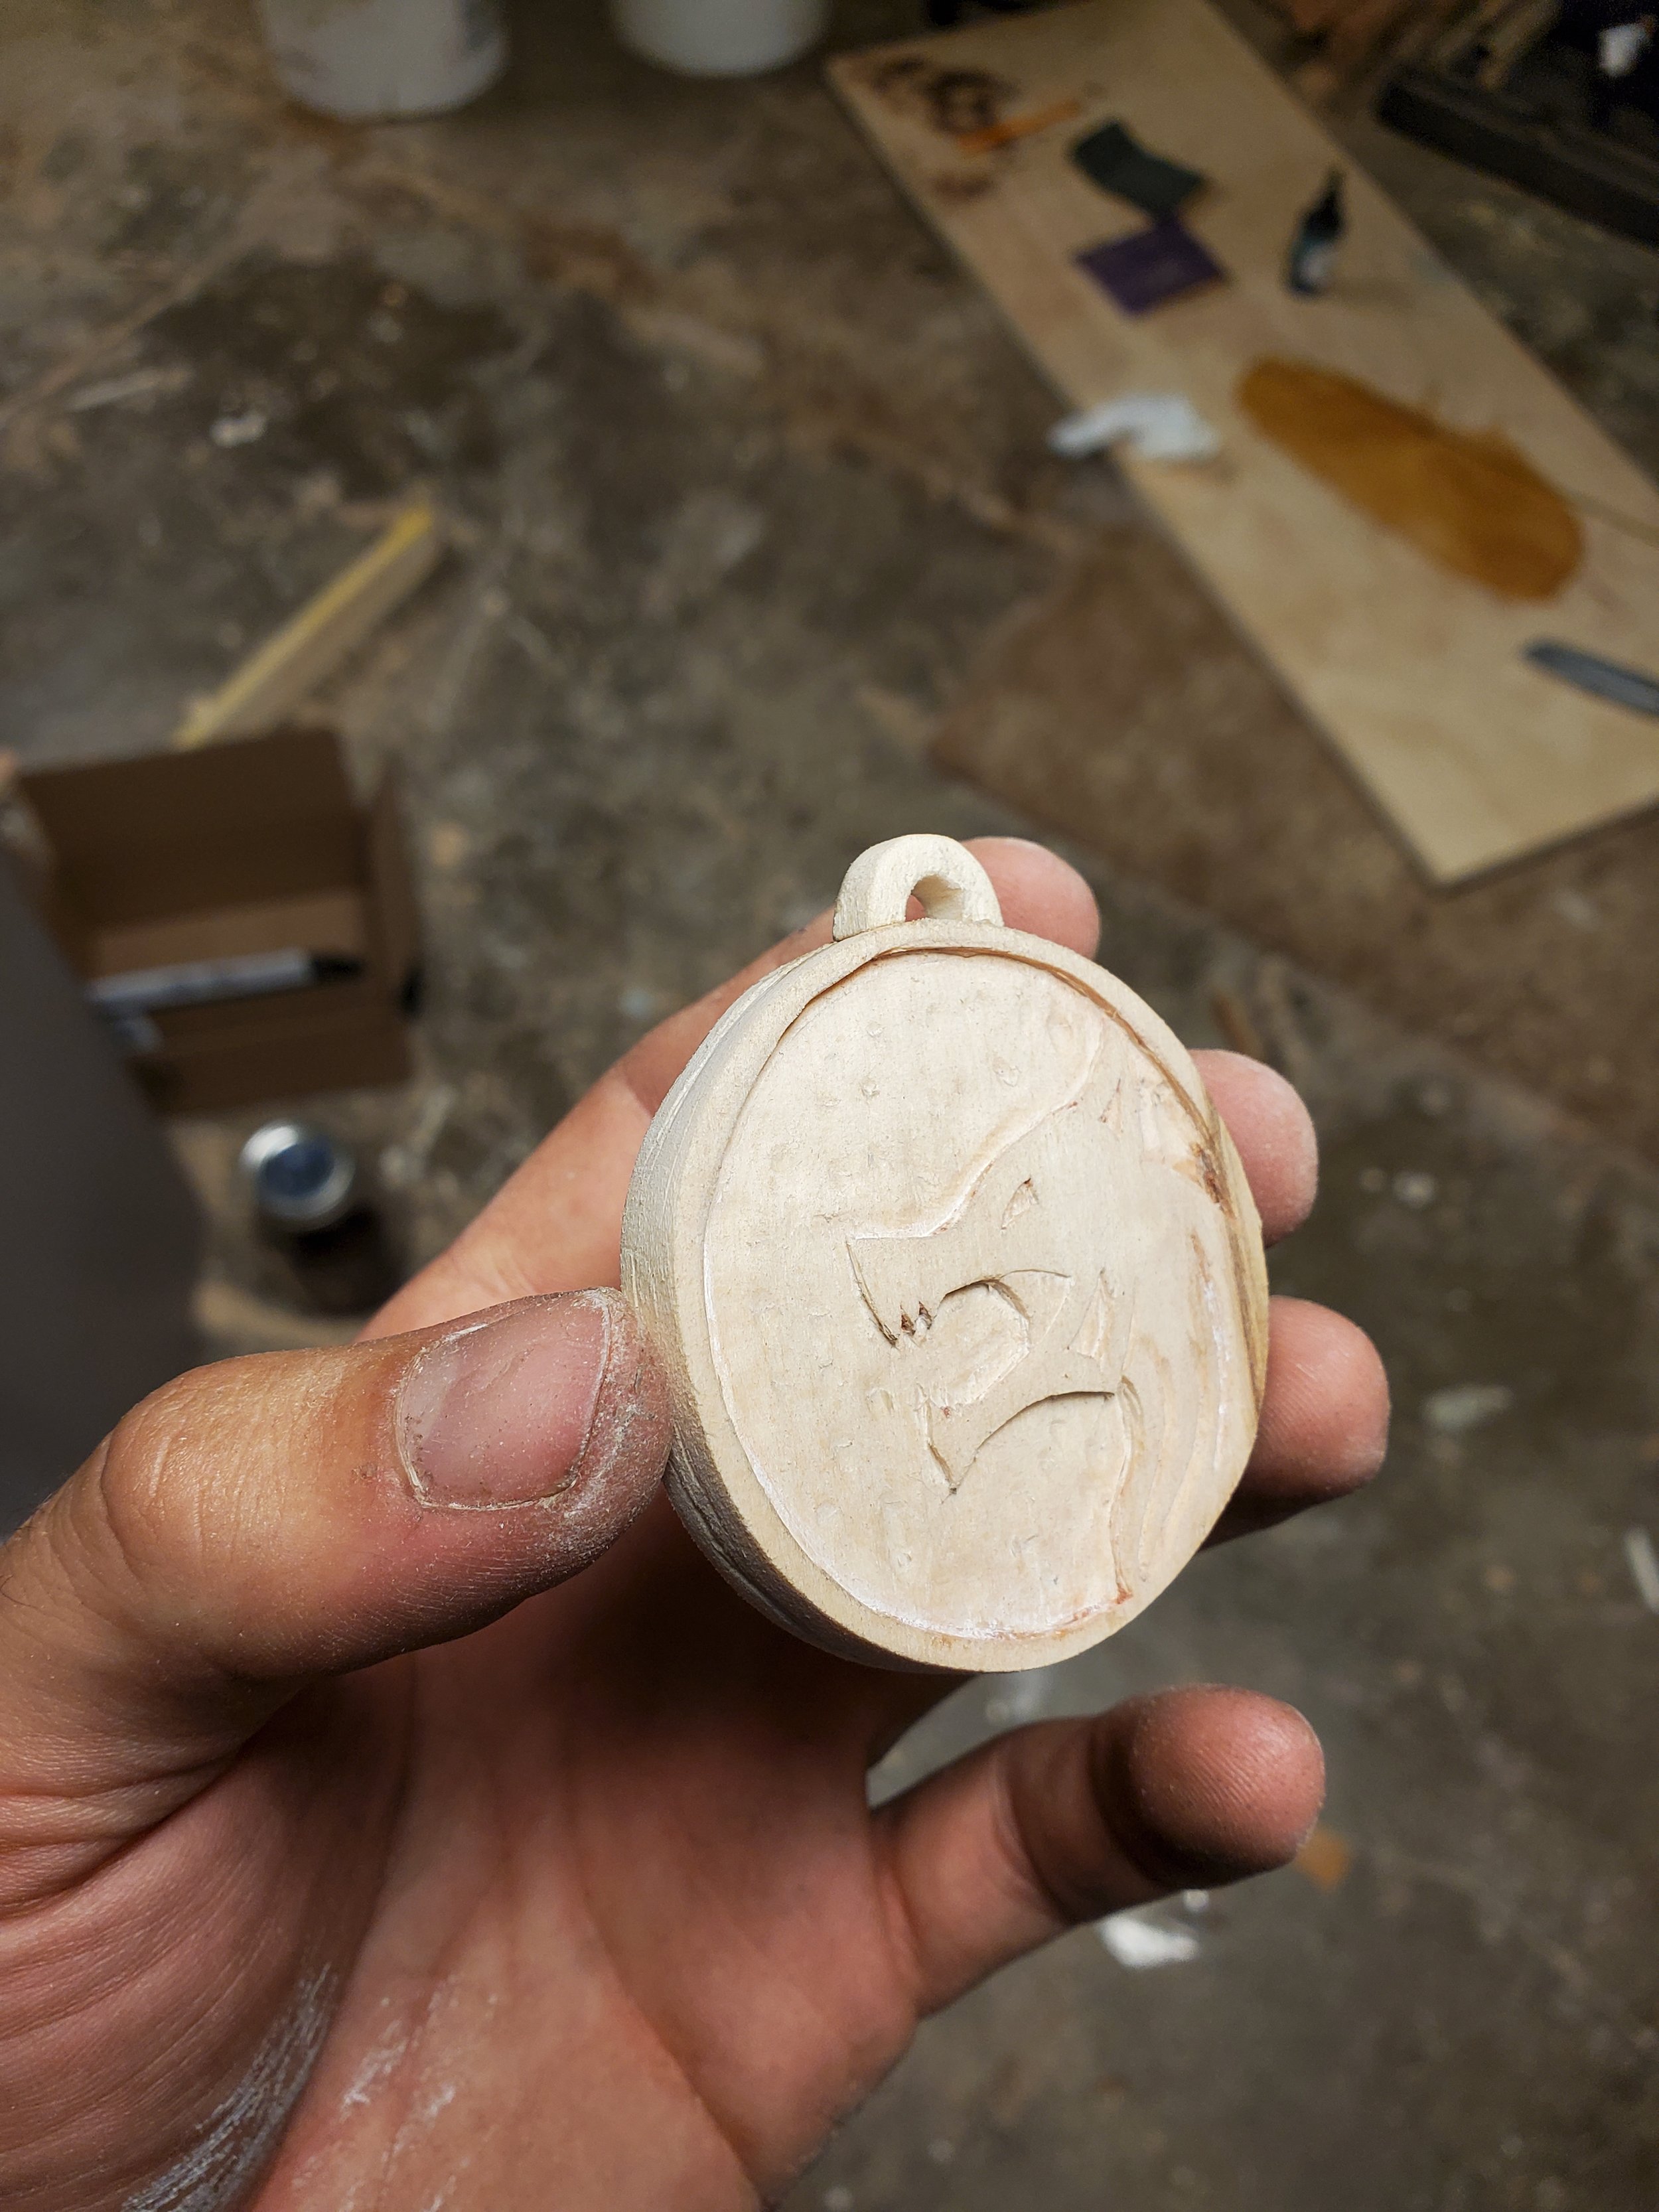
I cut it out and sanded it until it was as close to the final design as I could get it. Fortunately, Geralt’s medallion from The Witcher is not polished to perfection. If it was shinier or more even, the finishing steps would have had to be time consuming. Here though, a rougher, chiseled design works very well aesthetically. At least that is what I’m telling myself to save three days of buffing.
Next was the process of casting it out of metal. I had to make two holders for the sand out of plywood and they had to have pins in them so that they would locate perfectly. If there was any wiggle, the casting could come off center and the two halves would not line up.
The next problem that I had was I needed to find a metal to use and a way to melt it. I used a small oven that you can see how to make here. While this oven is good for holding the heat, it doesn’t get hot enough in my case for it to actually melt metal. Instead, I filled it with lump charcoal and used my vacuum as a blower.
The first attempt failed because I melted down aluminum that I had lying around. If anyone shows you on youtube that they melt down cans and make perfect castings, they are lying to you. Aluminum does not flow well enough to fill all the small gaps in the mold. It also takes forever to melt. I’m sure there are several tricks that you can do to make this work better, like create your own alloy or pour hotter, but none were available to me. None of those videos online really show all the steps and half of them trade out the casting for a better one when you’re not looking.
Fortunately there are some good videos and I ended up using Zamak, a zinc alloy. This stuff is really, really, really nice. It melted at half the temperature and flowed so well that it looked like mercury. I poured it in, careful to avoid the smoke coming off it and here is the result.
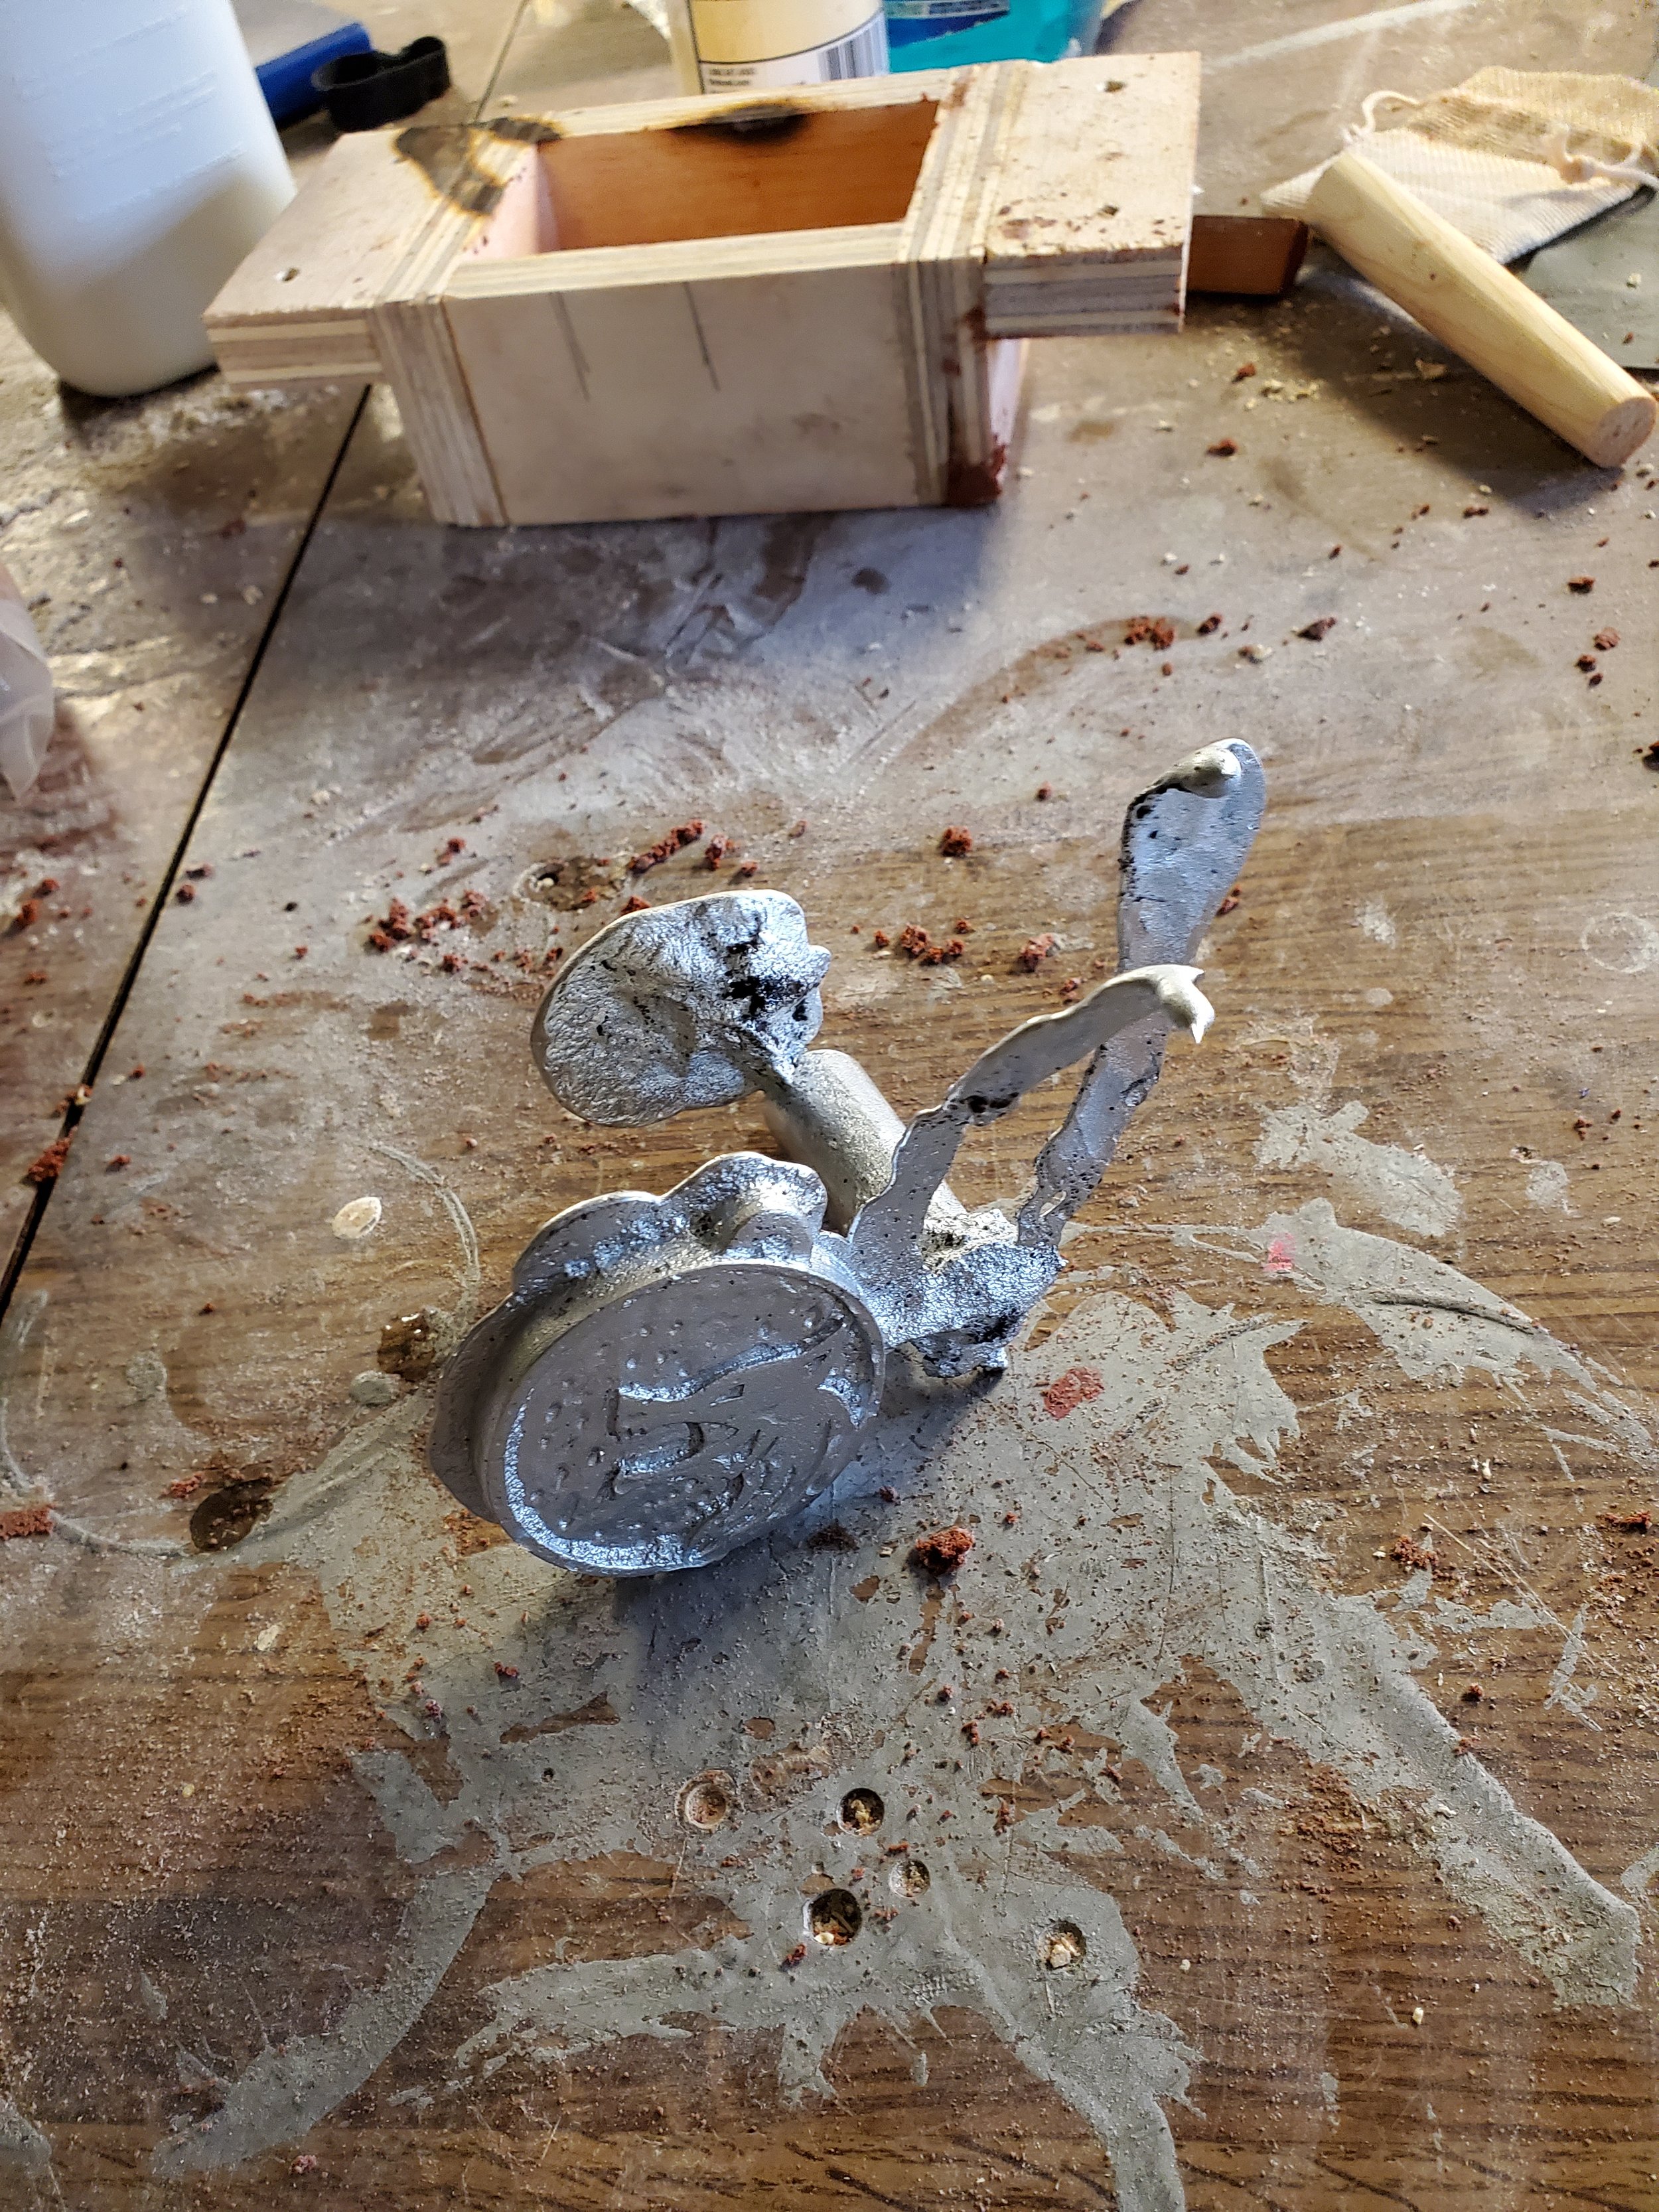
You can see some spill from where the casting failed and the hot metal flowed out as well as the hole I used to pour the metal into the mold. Fortunately, everything I actually care about is intact and the detail is exactly what I carved.
I took a hacksaw and took off all the extra metal (it can be reused for other projects later) and sanded a lot off with a bench sander. I had to drill out the hole for the necklace because my mold didn’t have a hole there as it was too small a feature. Some work with a dremel and file, ok a lot of work with a dremel and file, and we were close to the final product.
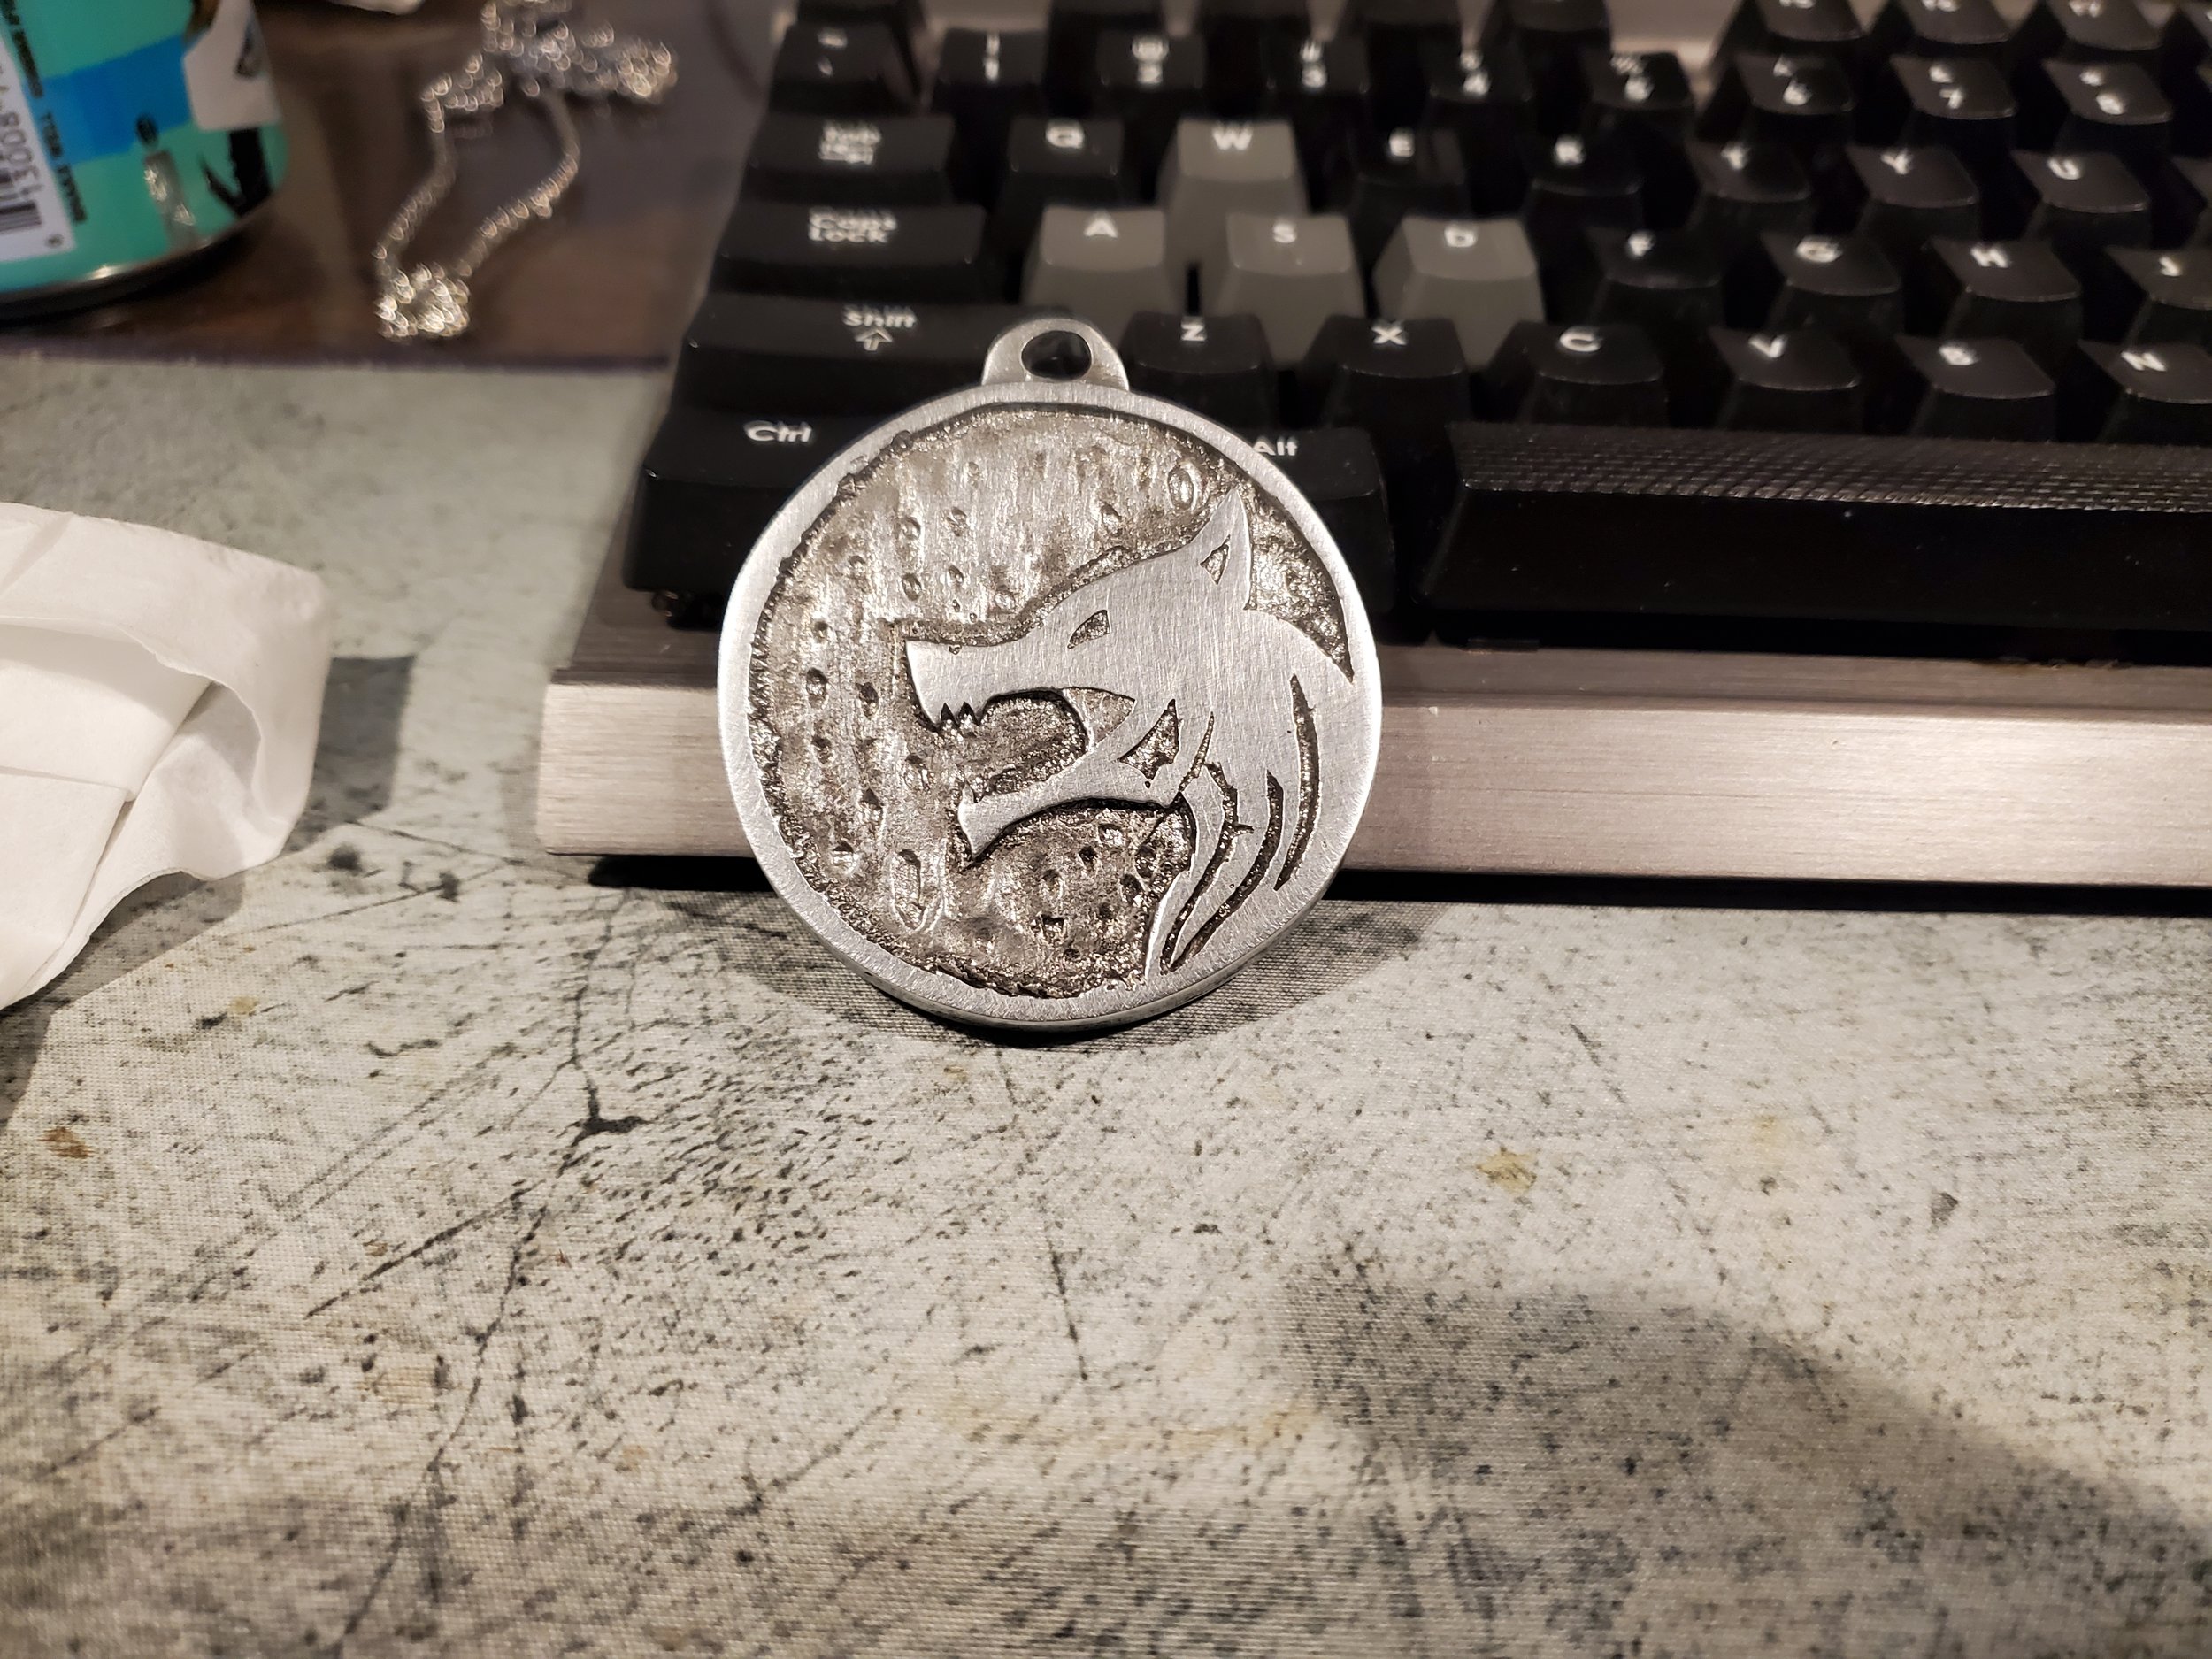


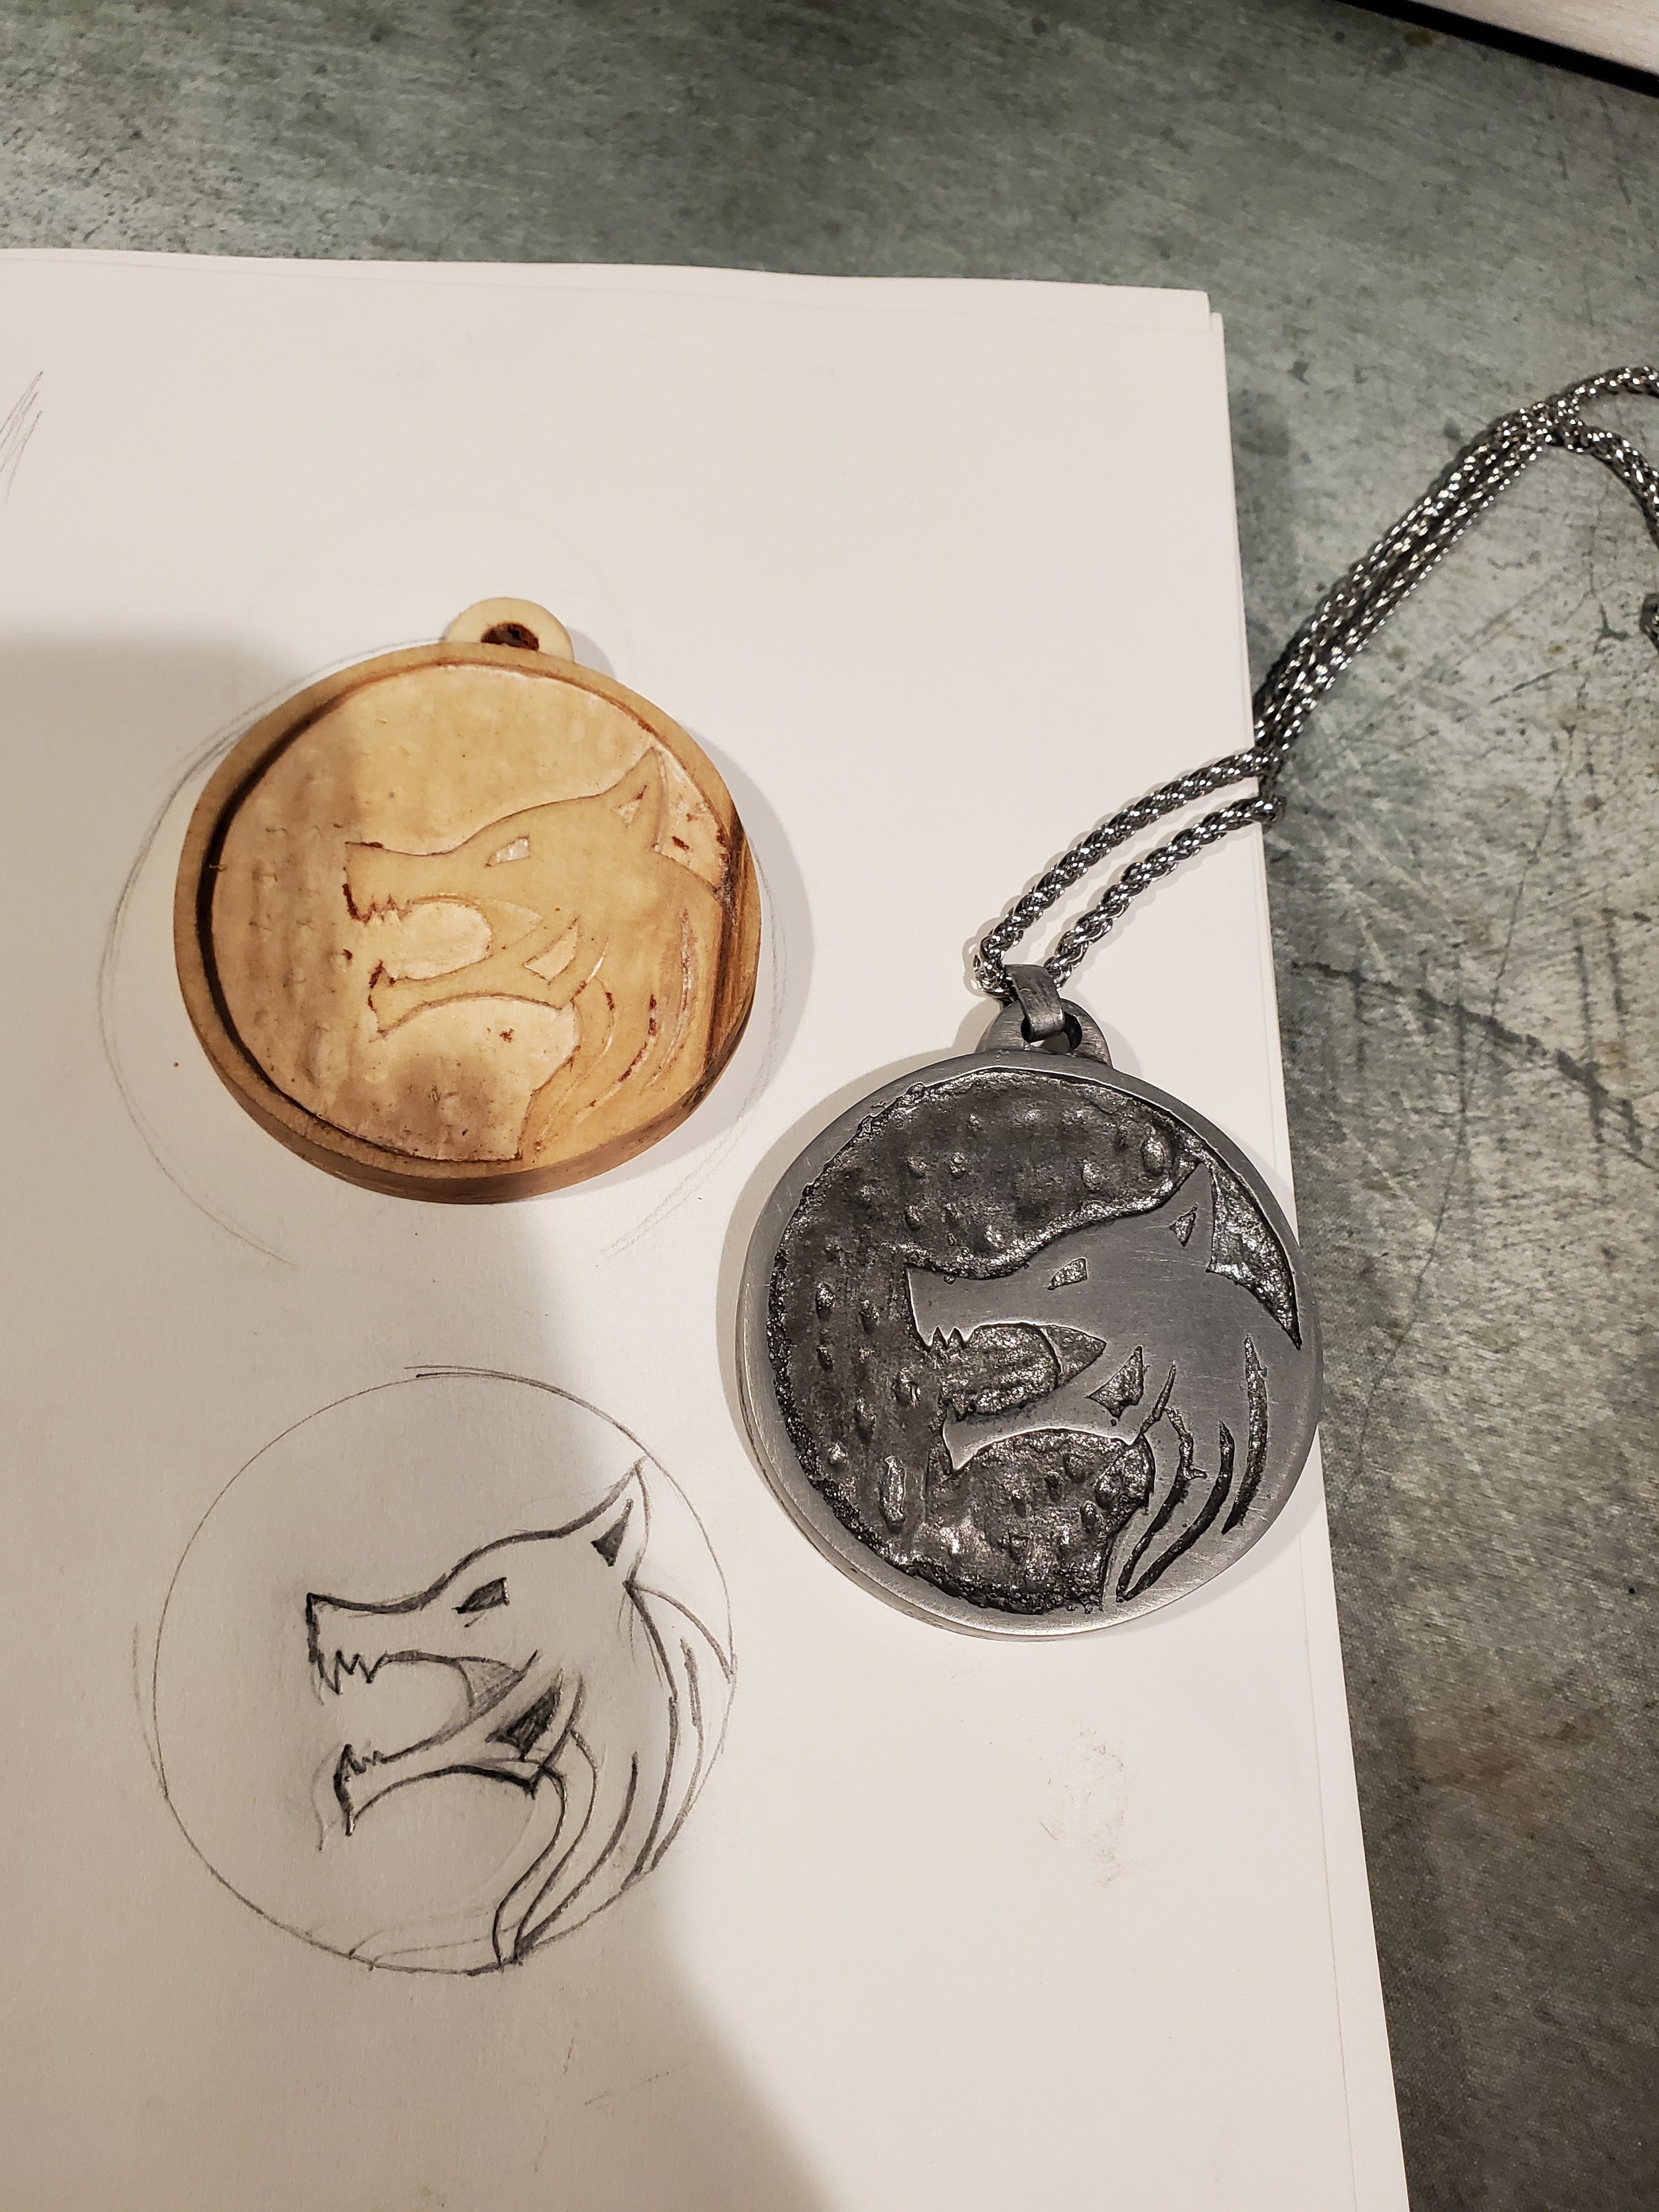
At first, I polished up the face really well, then I realized that it looked too new and too nice. Instead, I darkened the background with a tarnishing agent then went over the face with some vinegar until it was softened enough to look worn. I made the necklace next.
Just kidding I bought that necklace, there is no way I was going to spend all that time doing one perfect link at a time. I did make the hook that attaches the necklace to the medallion so that it would sit flush when it’s worn.
Pretty much every skill I had to use here was something new to me, I had never drawn something like this, nor carved anything out of wood before, at least not at this level of detail. Like every project though, I had been working on a lot of related skills for years and years so picking up a few new ones wasn’t that difficult. Maybe that’s the true skill here, knowing how to approach something that you’ve never done before. Knowing how to be careful and think things through methodically until you get to your goal. Understanding that failure is a learning opportunity and you only truly fail when you give up.
Or maybe I just like making cool stuff to an obsessive degree.
Anyway, see you on the next one.